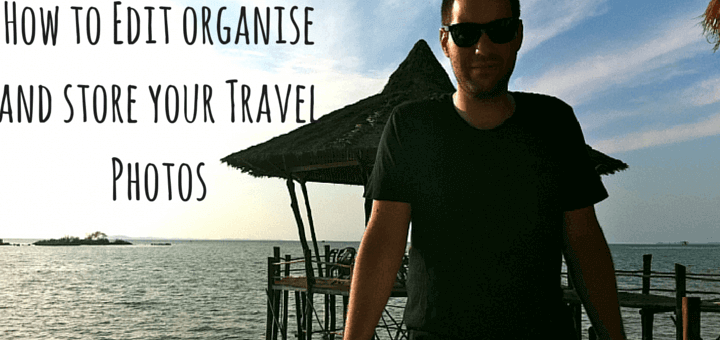
How to Edit organise and store your Travel Photos
It’s worth investing some time into your travel photos to make them stand out, by following my steps you can organise, edit and enhance your travel photographs to treasure forever. For photo taking I simply use my iPhone, yep, no fancy equipment so it’s easy for anyone to follow these steps:
Tip one: Have a plan from the start.
Snap away! Just remember at some point you will have to go through them all. With this in mind, I sometimes take up to 10 photos of one set subject.
My tip is to be creative, but when you come back to them, be prepared to delete 9 out of the 10 to grab that ultimate picture. Play around with the angle, light exposure (on the iPhone this is done by simply tapping on the area you want the light to pop up) use flash maybe in dark spots.
This does take some time to go through, but taking multiple shots ensures you grab the best picture you possibly could have taken.
Don’t upload all of them!
No one wants to see 5 pictures of the same thing. What you have to take into consideration is soon your be on a flight home so at least giving yourself the freedom of choice later is better than being stuck with one terrible picture. You’re limited to what you can see on a phone screen, you can look more in depth during the editing stages.
tip two: iPhoto or Picasa for editing.
Both are free and won’t cost you the earth, if you are a professional you can pay for Lightroom, but for the average joe who wants to enhance your pictures a little, iPhoto is both free and easy to use. Uploading your photos right away is pointless when all you need is a little bit of work and the pictures come out looking a lot better.
Once its editing, its done for life, its worth putting in the time now to make your photos look better.
Picasa is free to use on the web and has the same features for editing if you don’t have a Mac this a great free alternative.
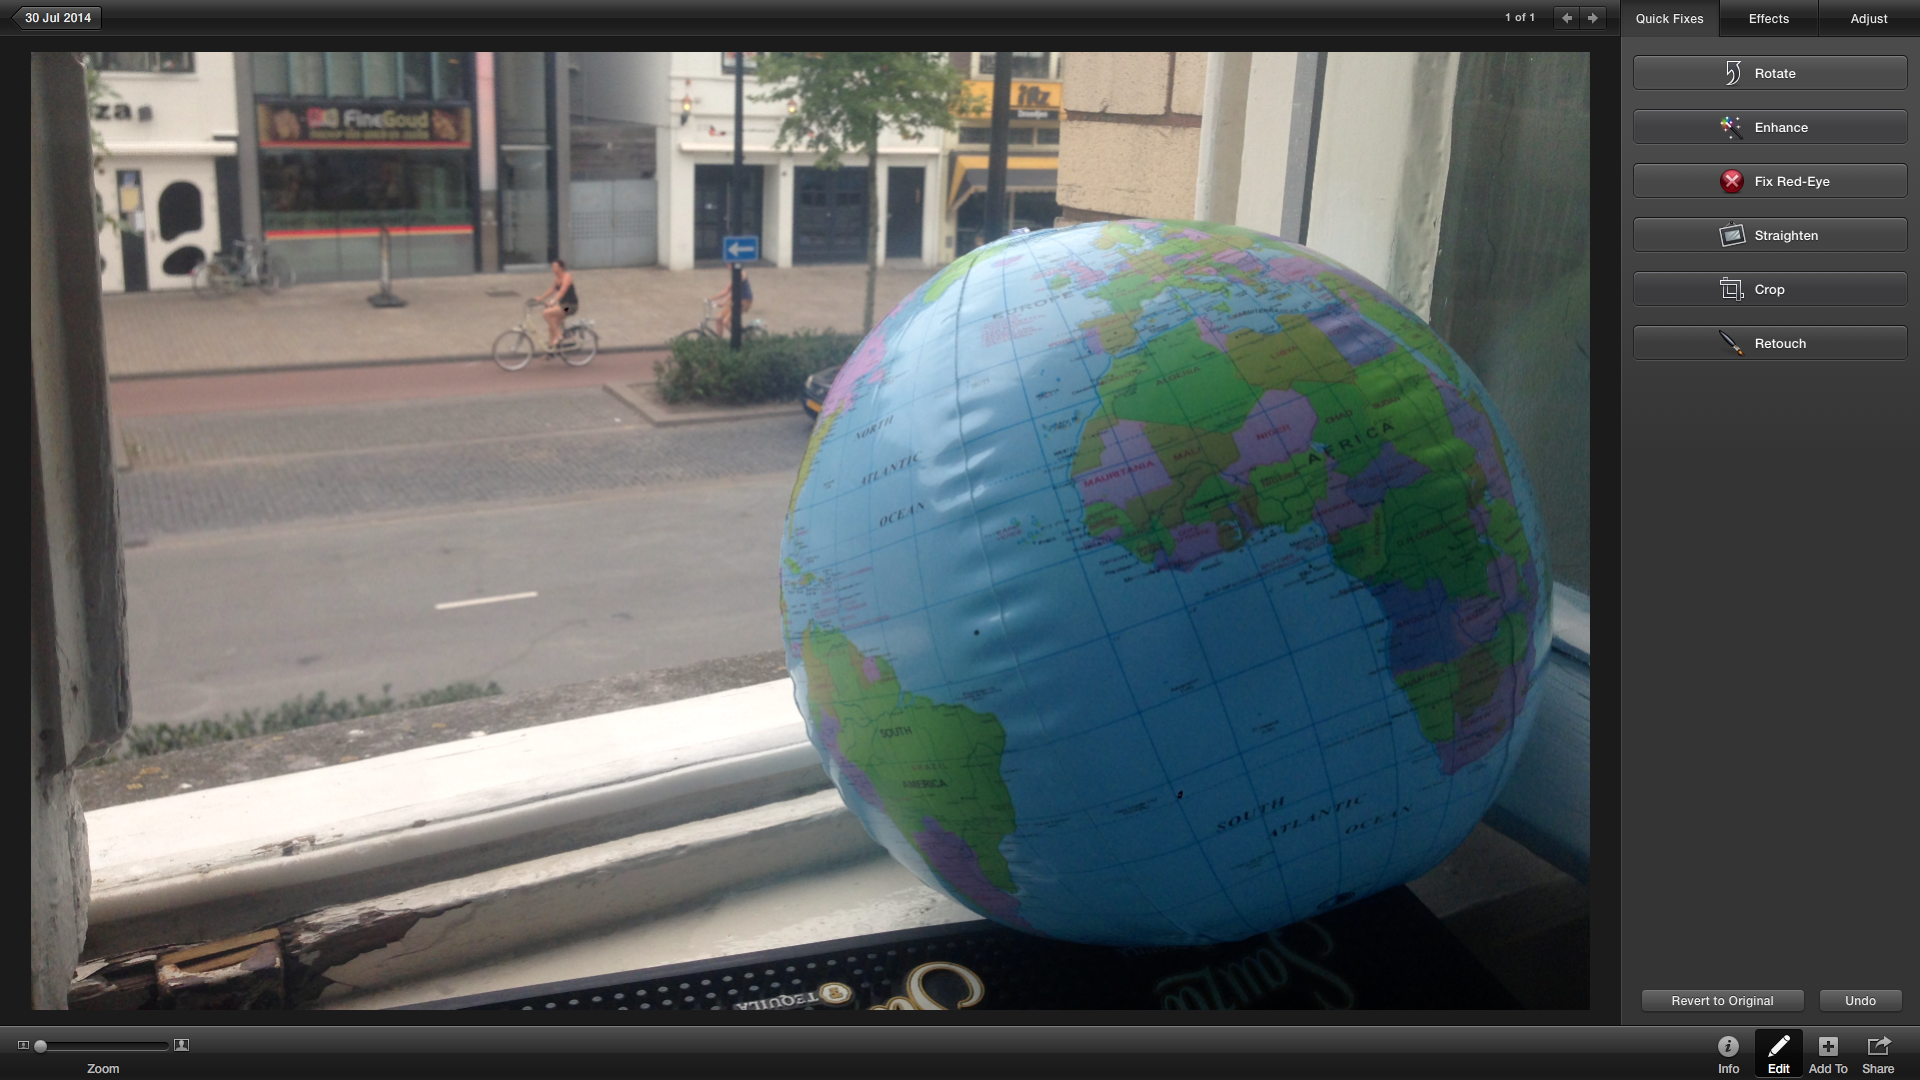
Tip three: Cropping
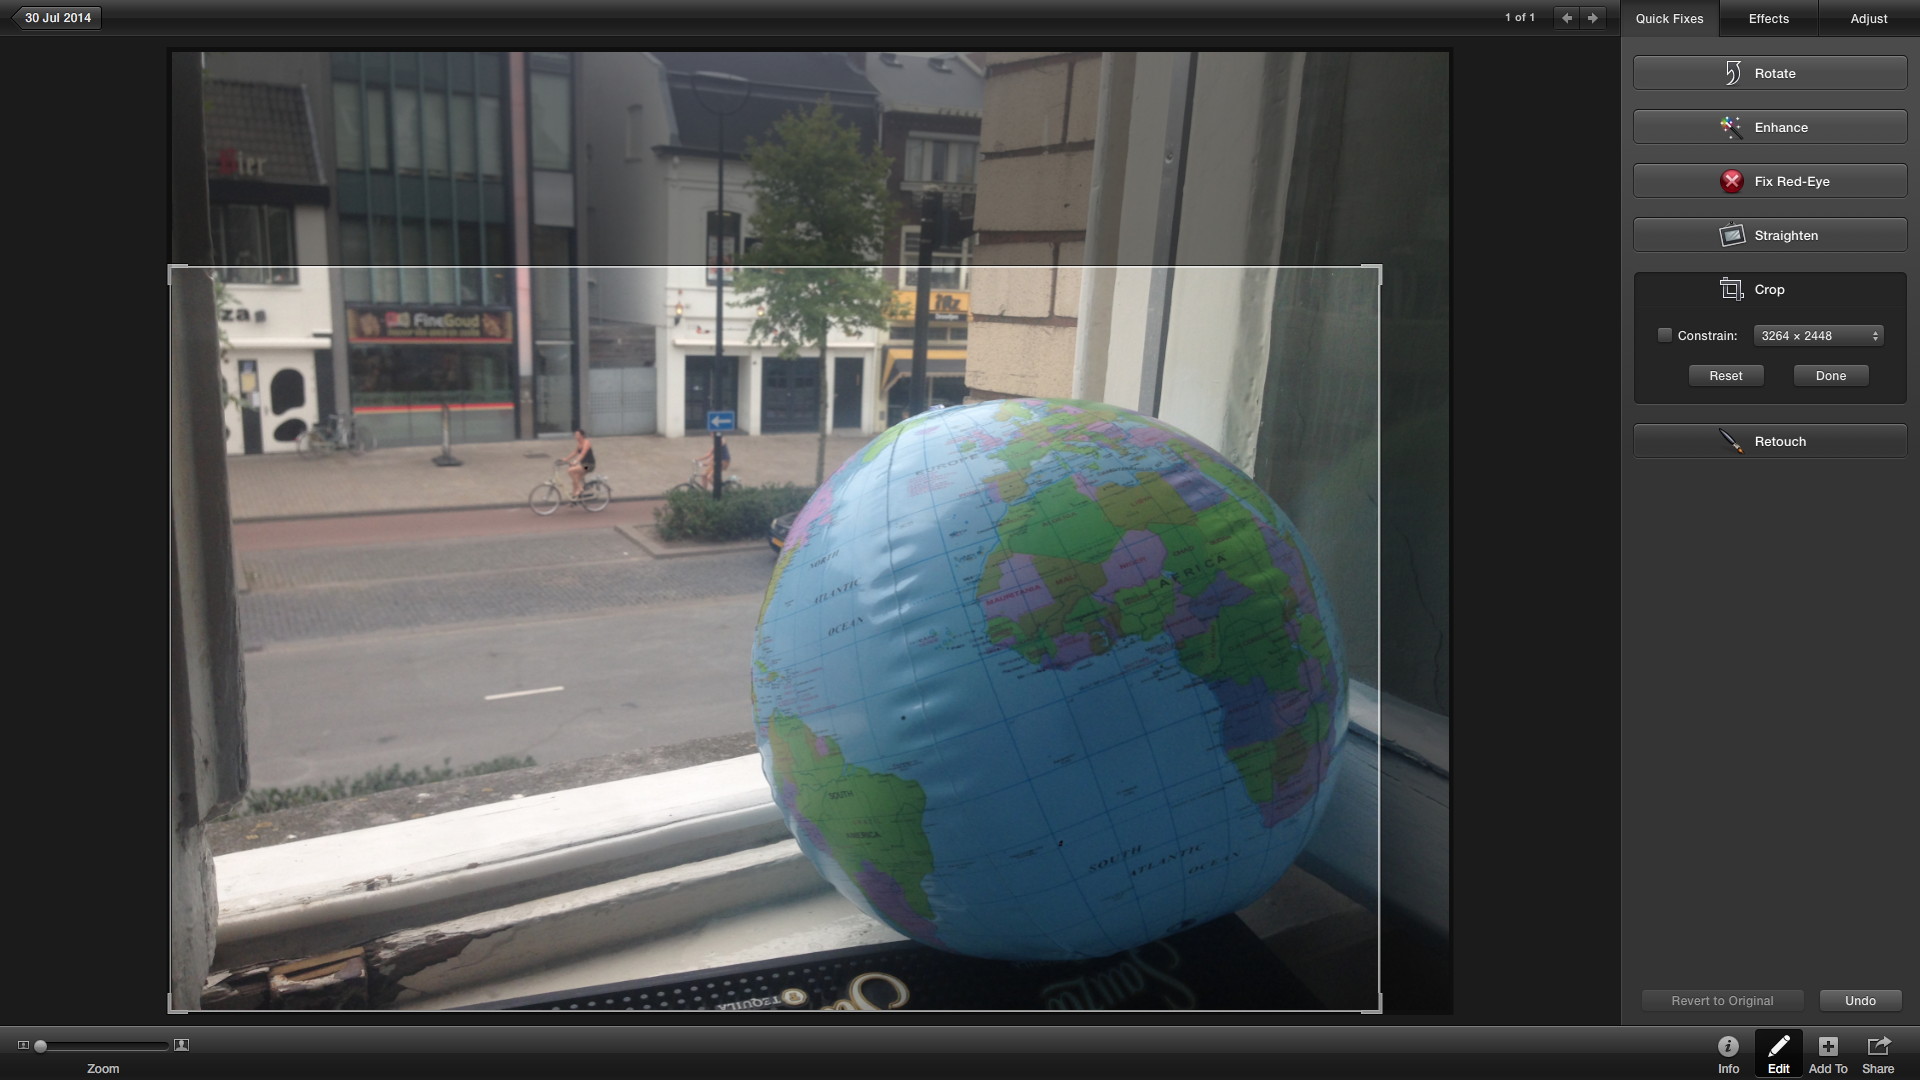
Cut out and draw focus to the main aspect of the picture, this makes it more enjoyable to the view and brings the main focus alive. Takes a few seconds and works magic. This can also help if you was standing at a distance and want to bring the main subject closer.
Tip four: the magic button, “enhance”
Using the enhance button will do wonders to your picture, it automatically brings all the colour to life without having to figure out the settings yourself.
If you’re worried about playing with all the technical features just clicking “enhance” will do a lot for your picture with little effort. Can make a terrible picture look great.
Sometimes it doesn’t work, all you have to do is click undo, but 7/10 it does a good job so worth a try, especially when there is a lot of light in the picture.
Tip five: Straighten
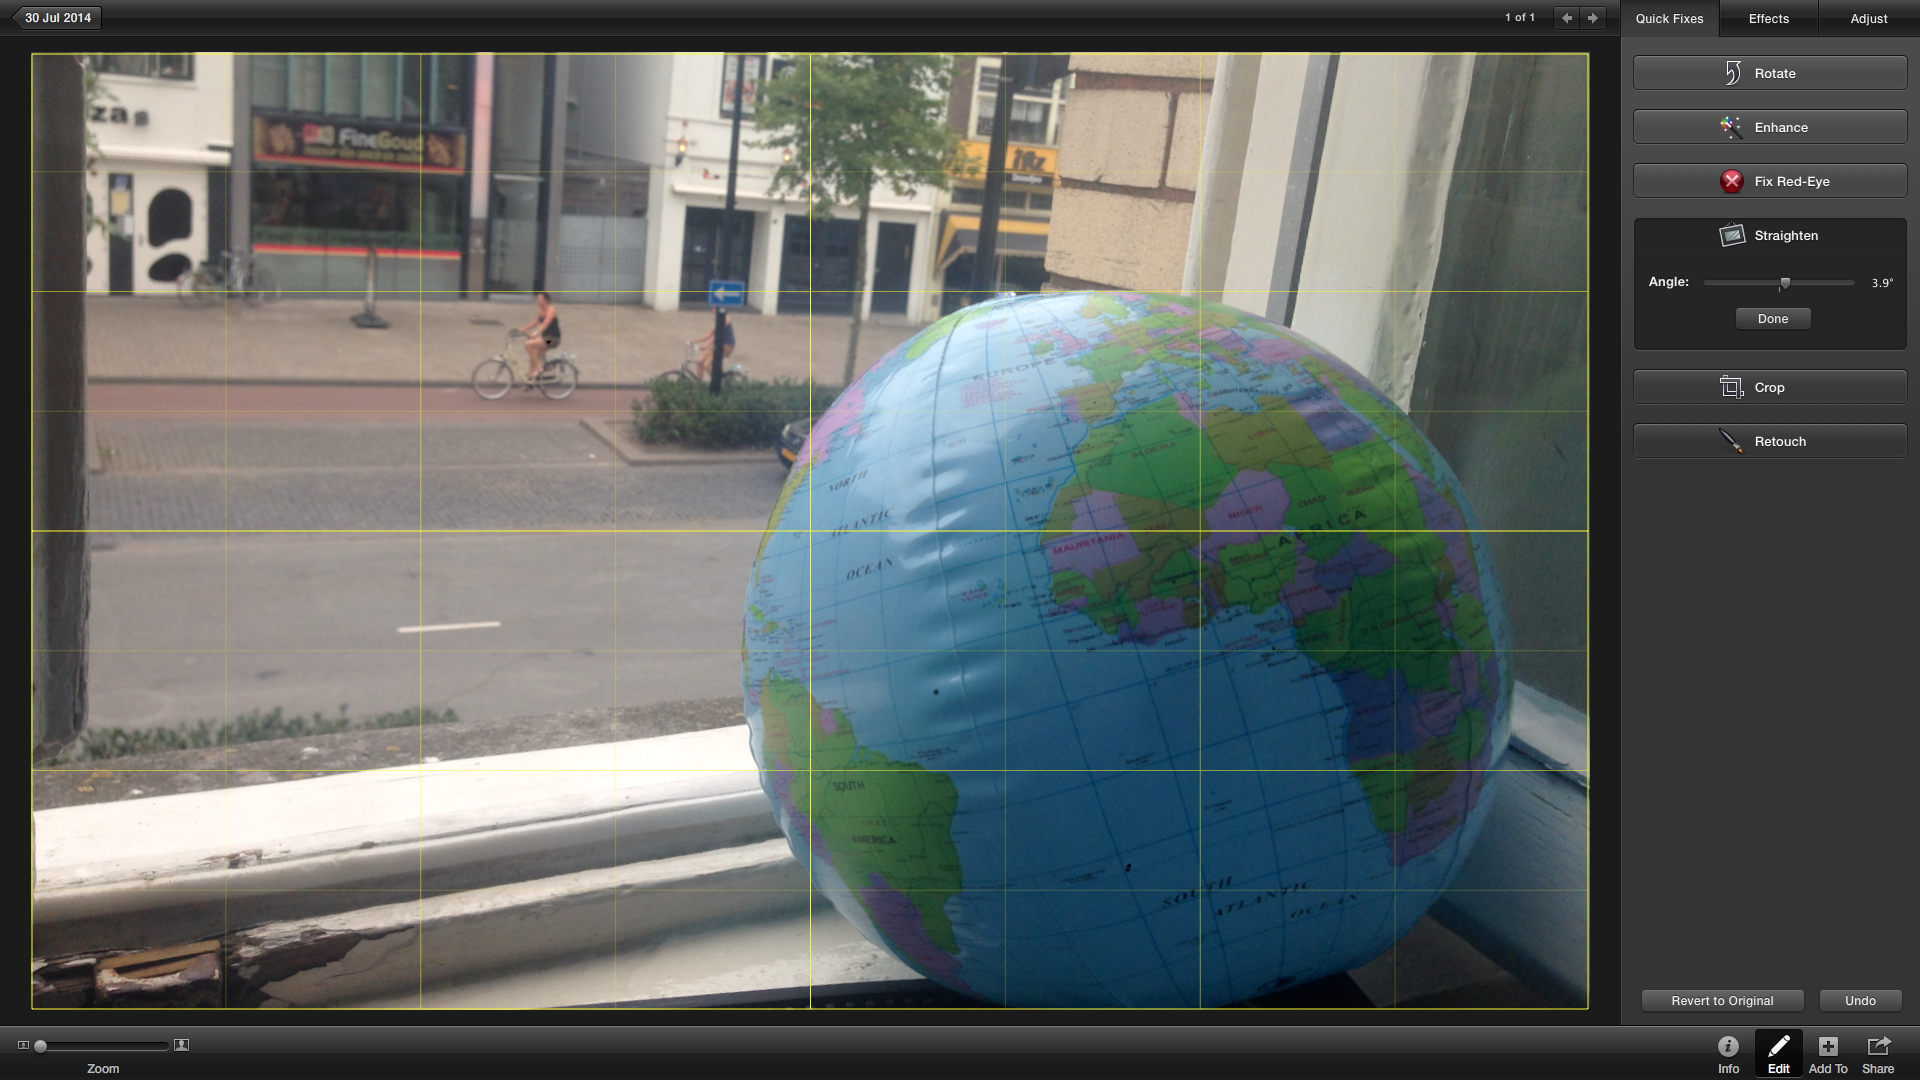
We can all have a wonky shot, especially if you are not using a tripod, equal out the photo using the guidelines and stop people from tilting their heads.
Tip six: Rotate
Sometimes you might have taken a picture in portrait, but it would be better in landscape, one click solves this. You can play around with taking shots at an angle and see if it works better in a different rotation, work out what’s best for you and have fun messing around with your shots.
Tip seven: Play around with the Effects
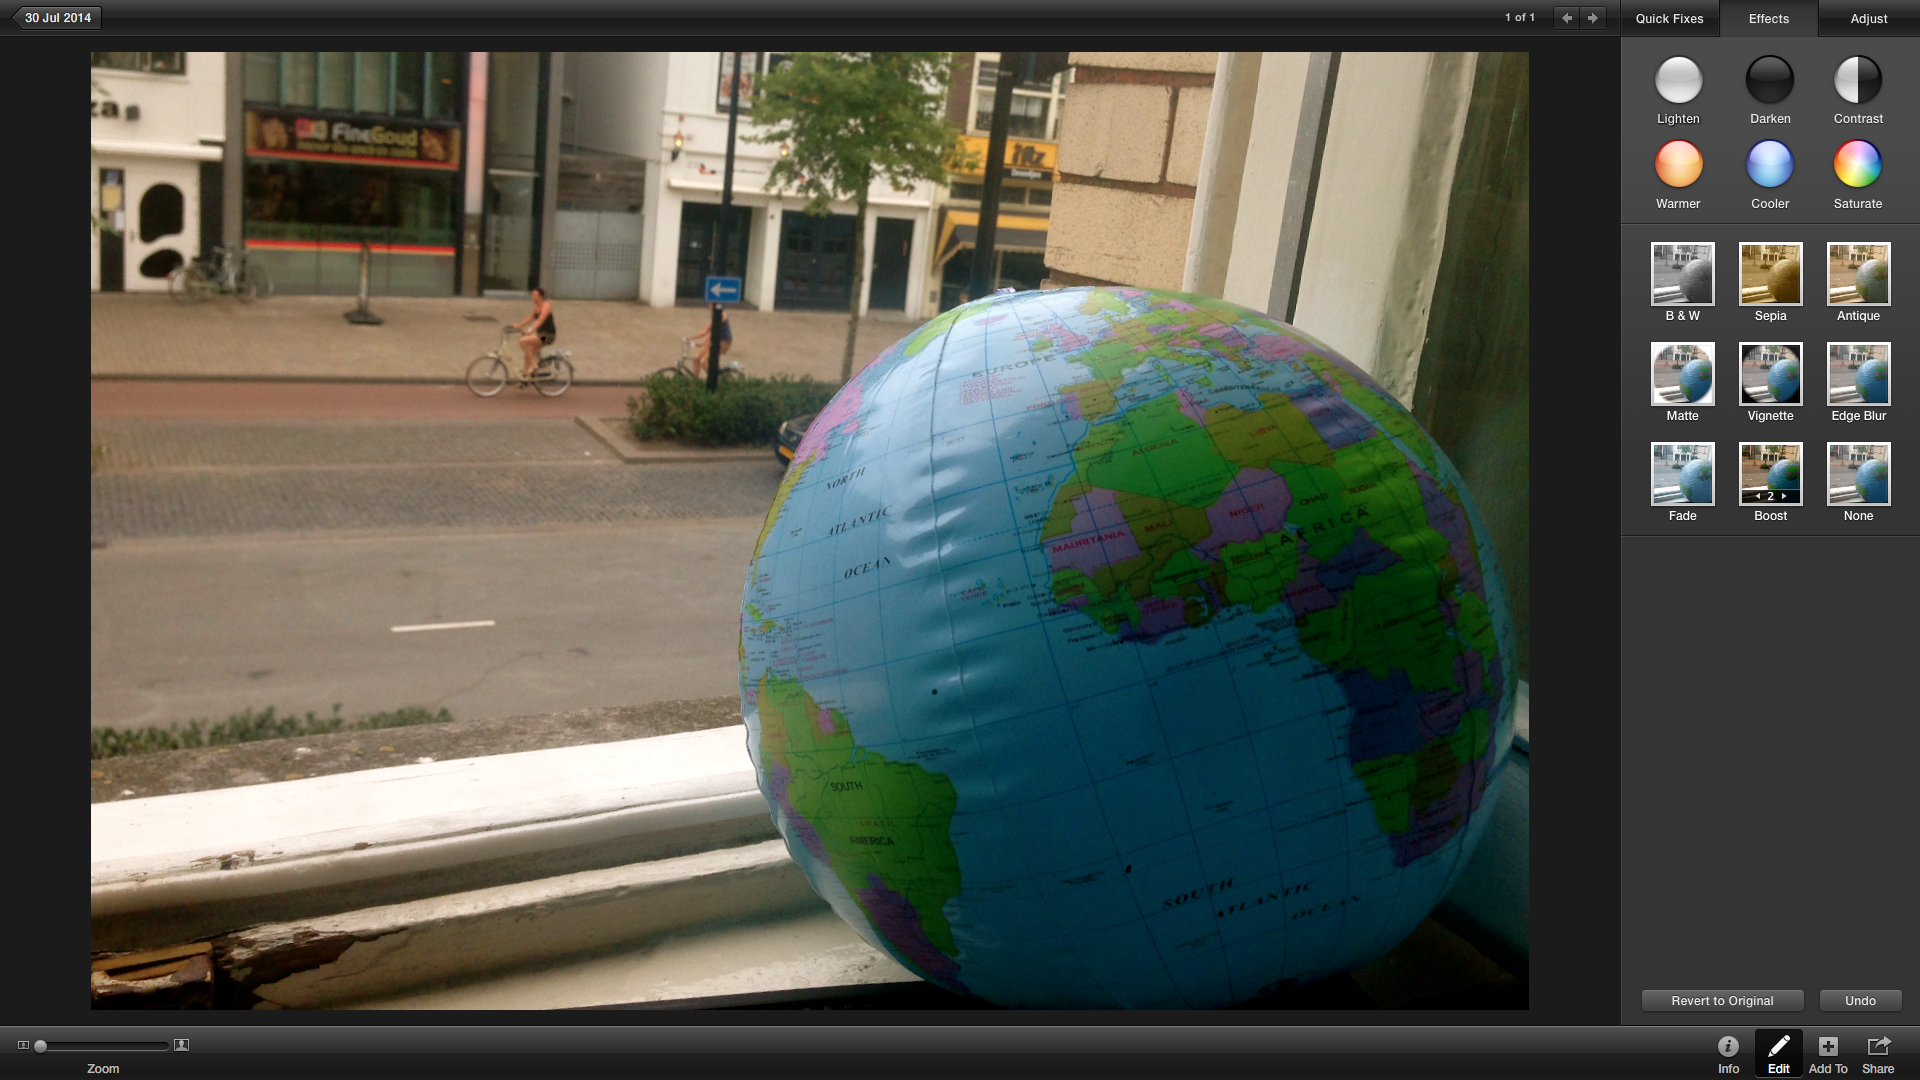
Now time for some fun, iPhoto has many effects you can play around with. Sometimes Sepia can add a nice effect to Sunny Mediterranean photos or you could use Lighten/warmer/cooler to make dark shots brighter, play around and see what works for your photo. I normally like to use Boost a couple of times to add more colour or Edge blur to make the focus pop out on the subject.
Tip eight: Adjust (for the pro user)
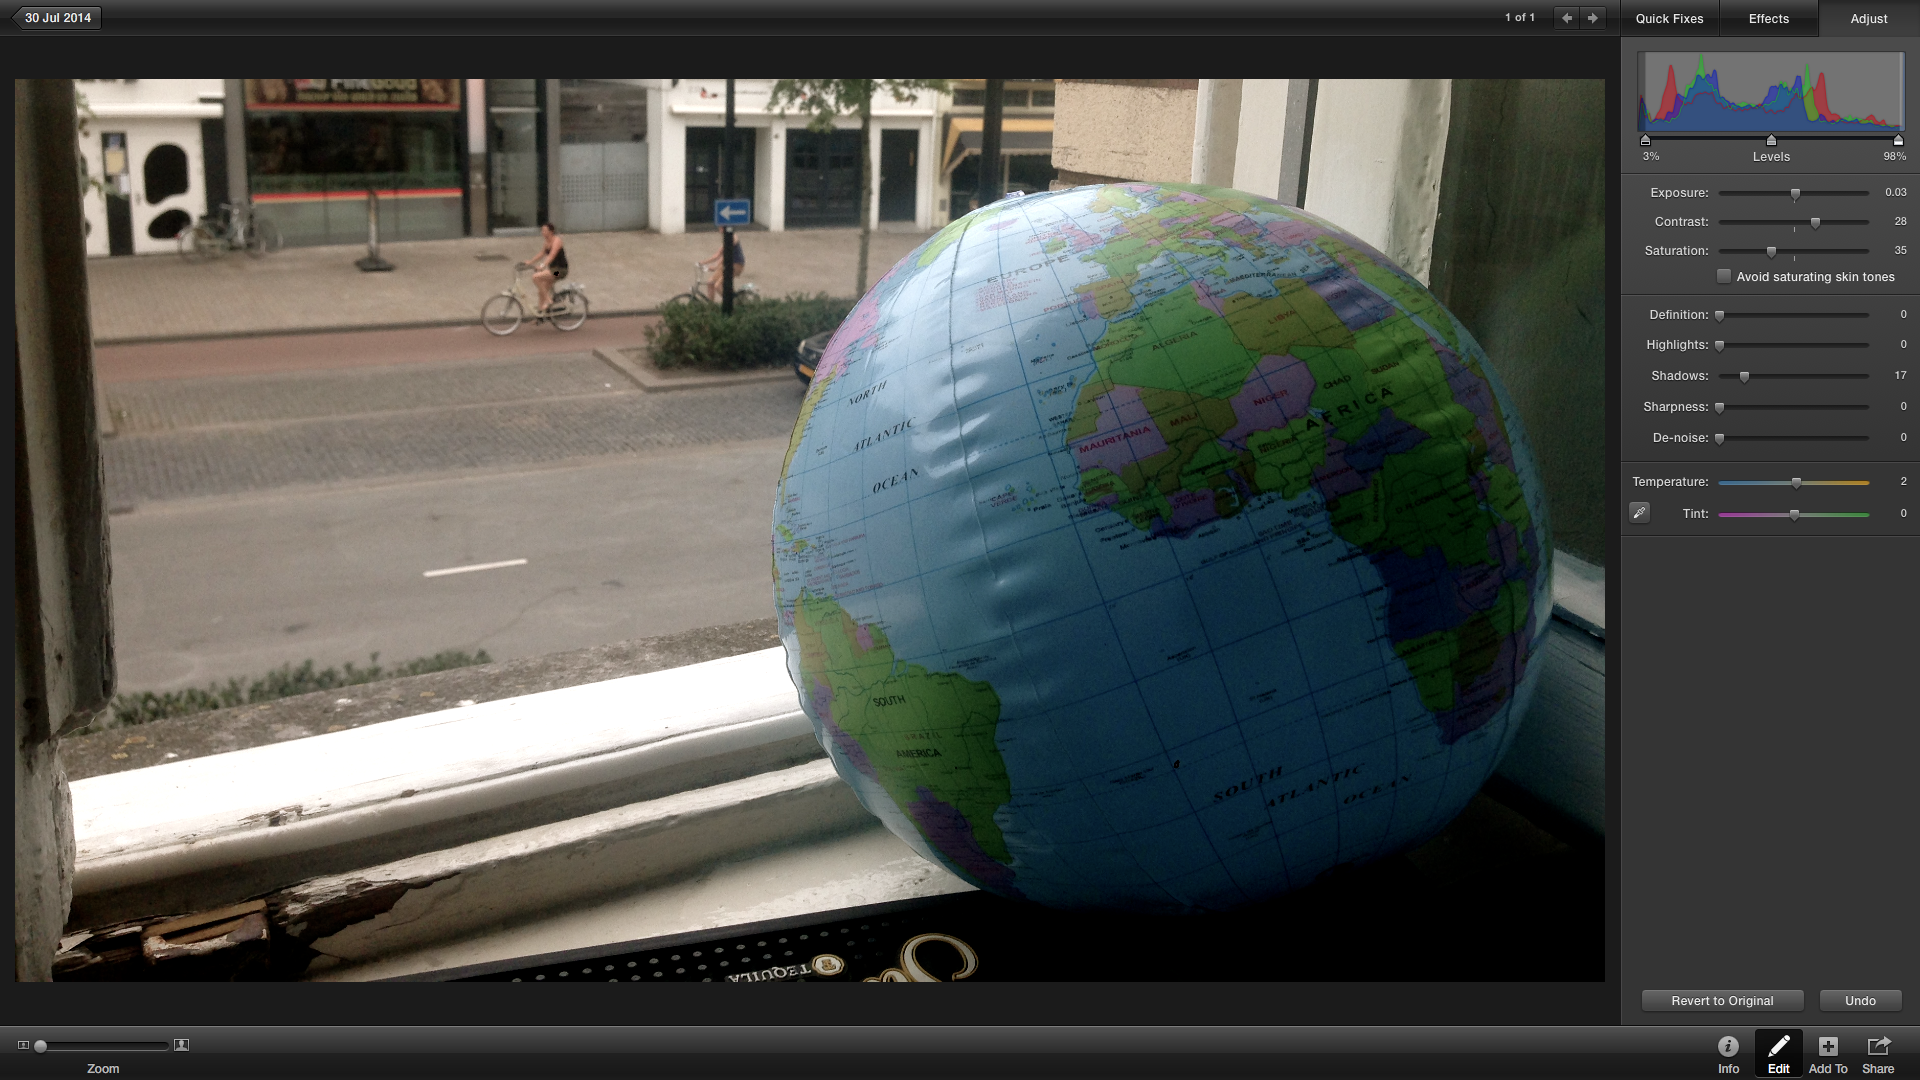
Now it gets more technical, it’s up to you if you’re brave enough, but you can play around with the balance of the Exposure/contrast/saturation and see if the picture comes out better with a few tweaks. It’s tricky, but could works wonders on photos that are not coming out that great and you can still play around and see what happens. Use the Graph at the top to work around with the levels that you’re using.
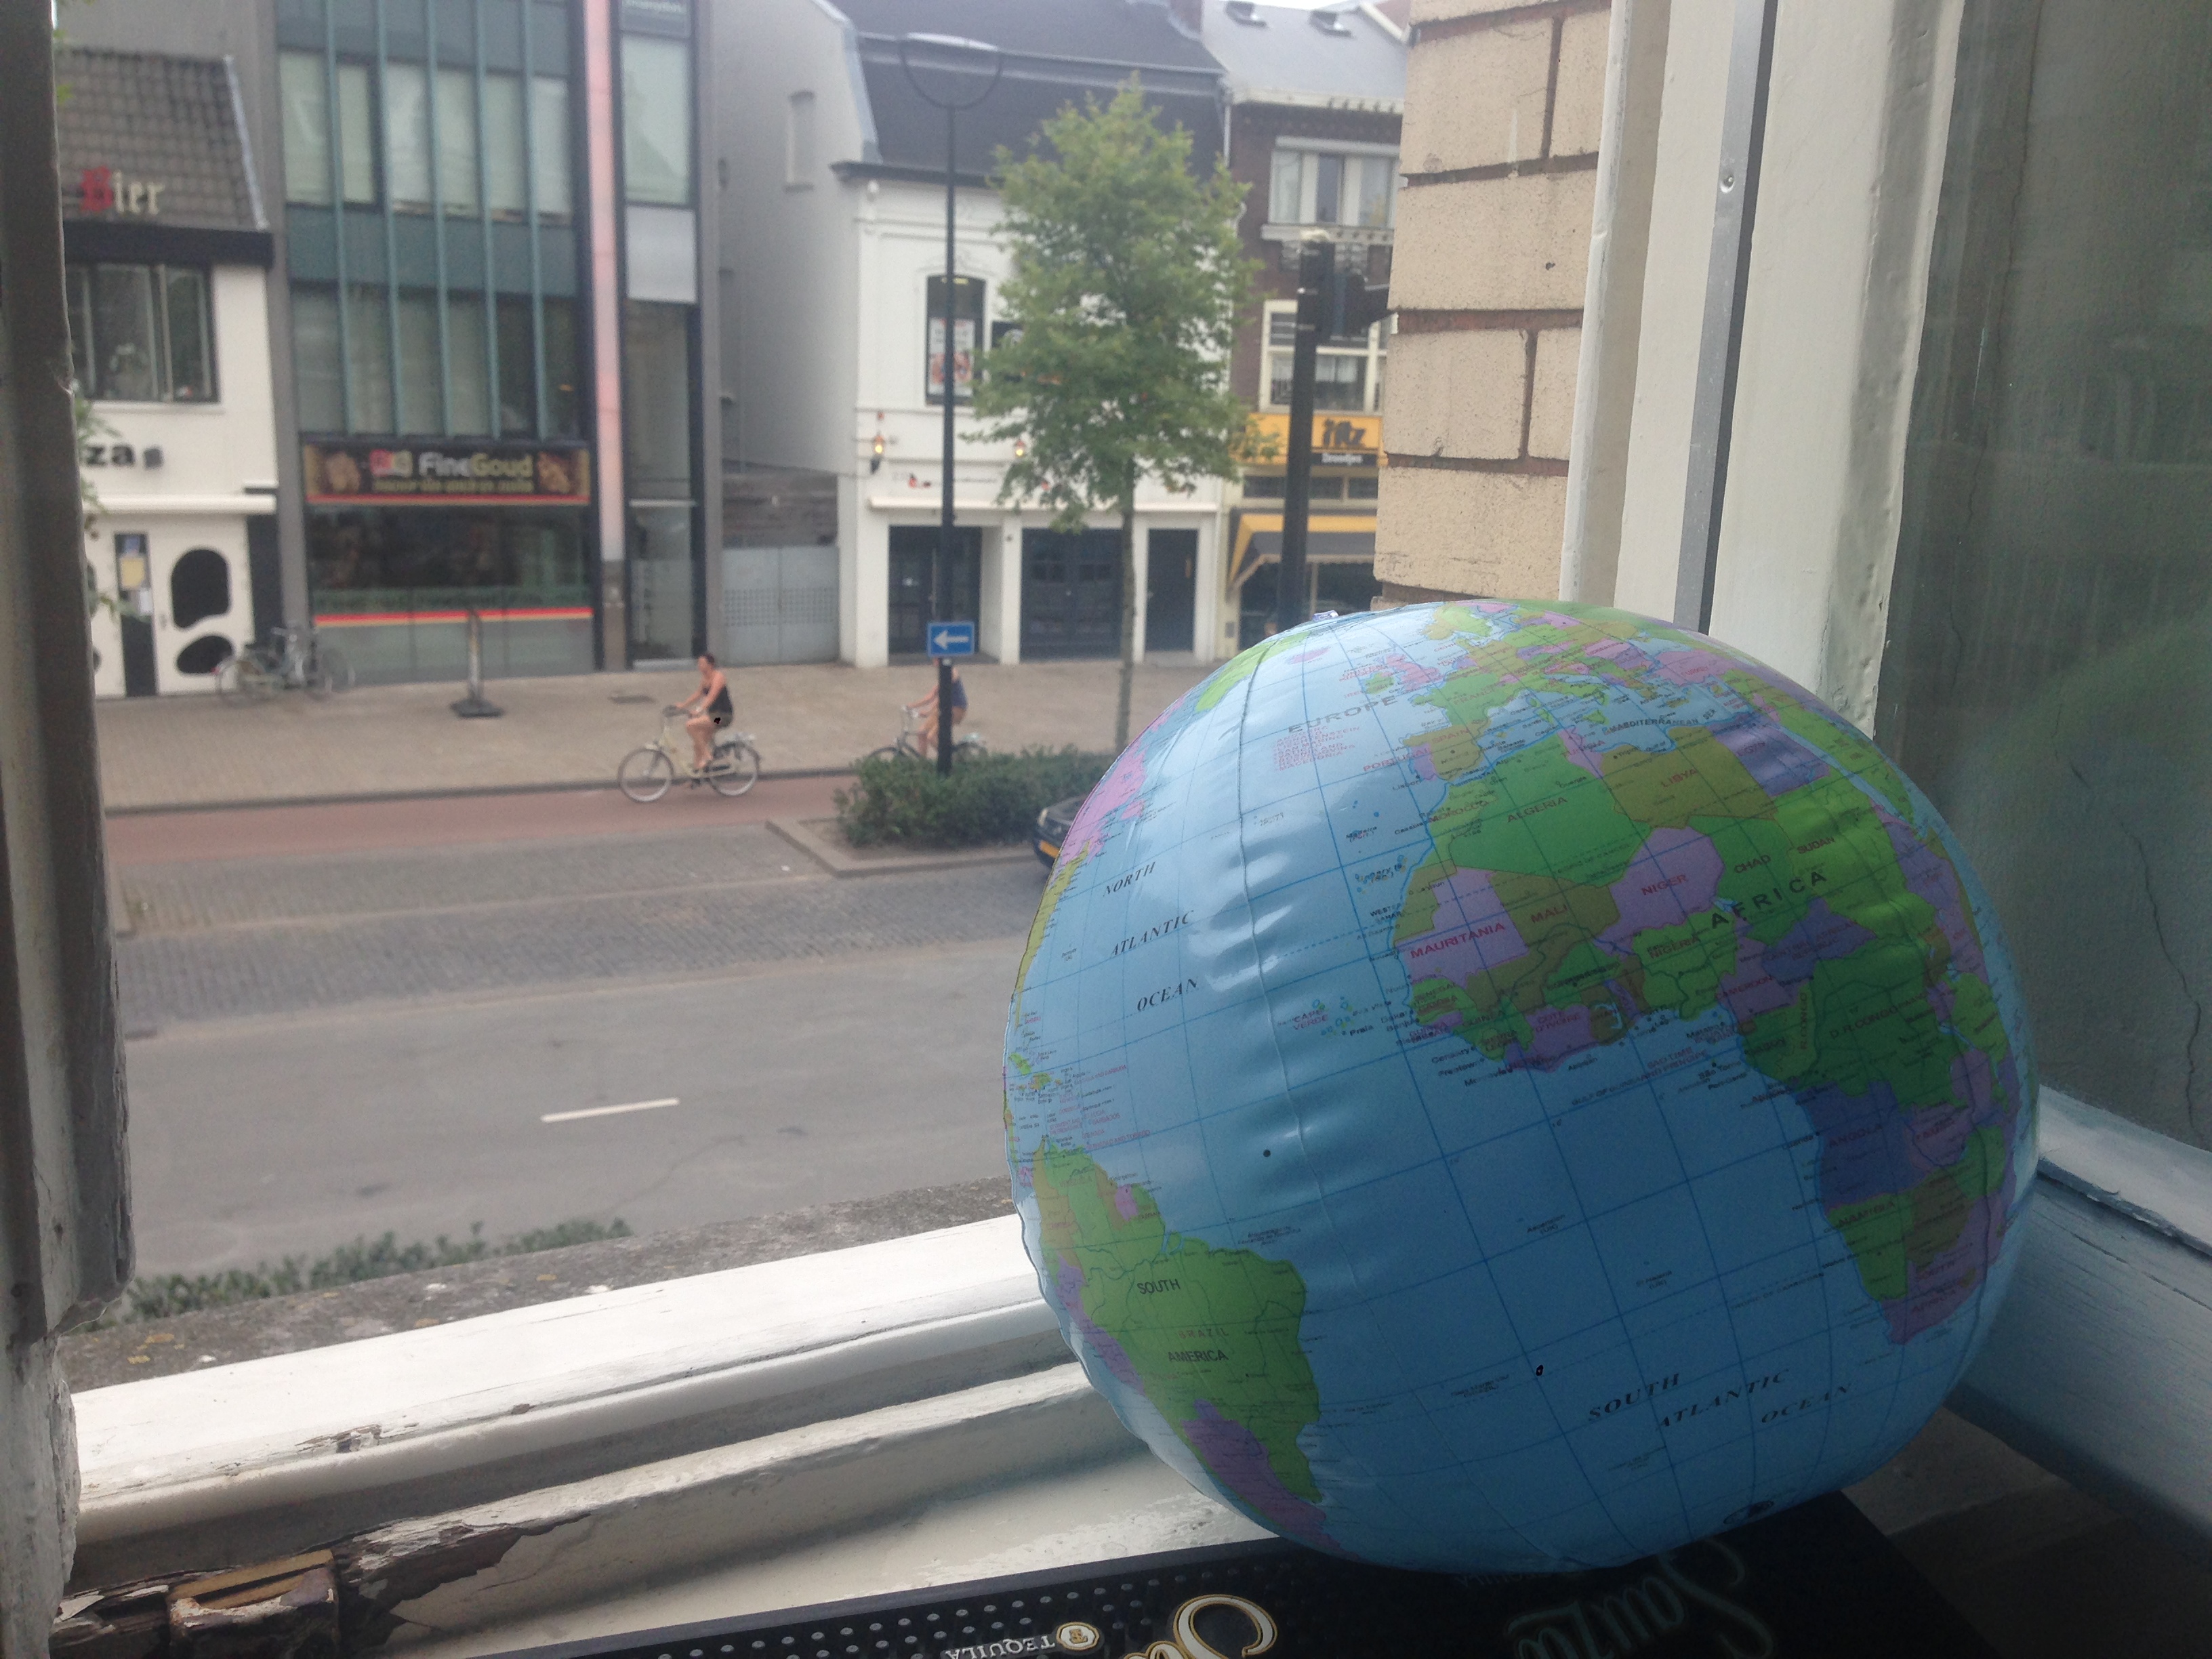
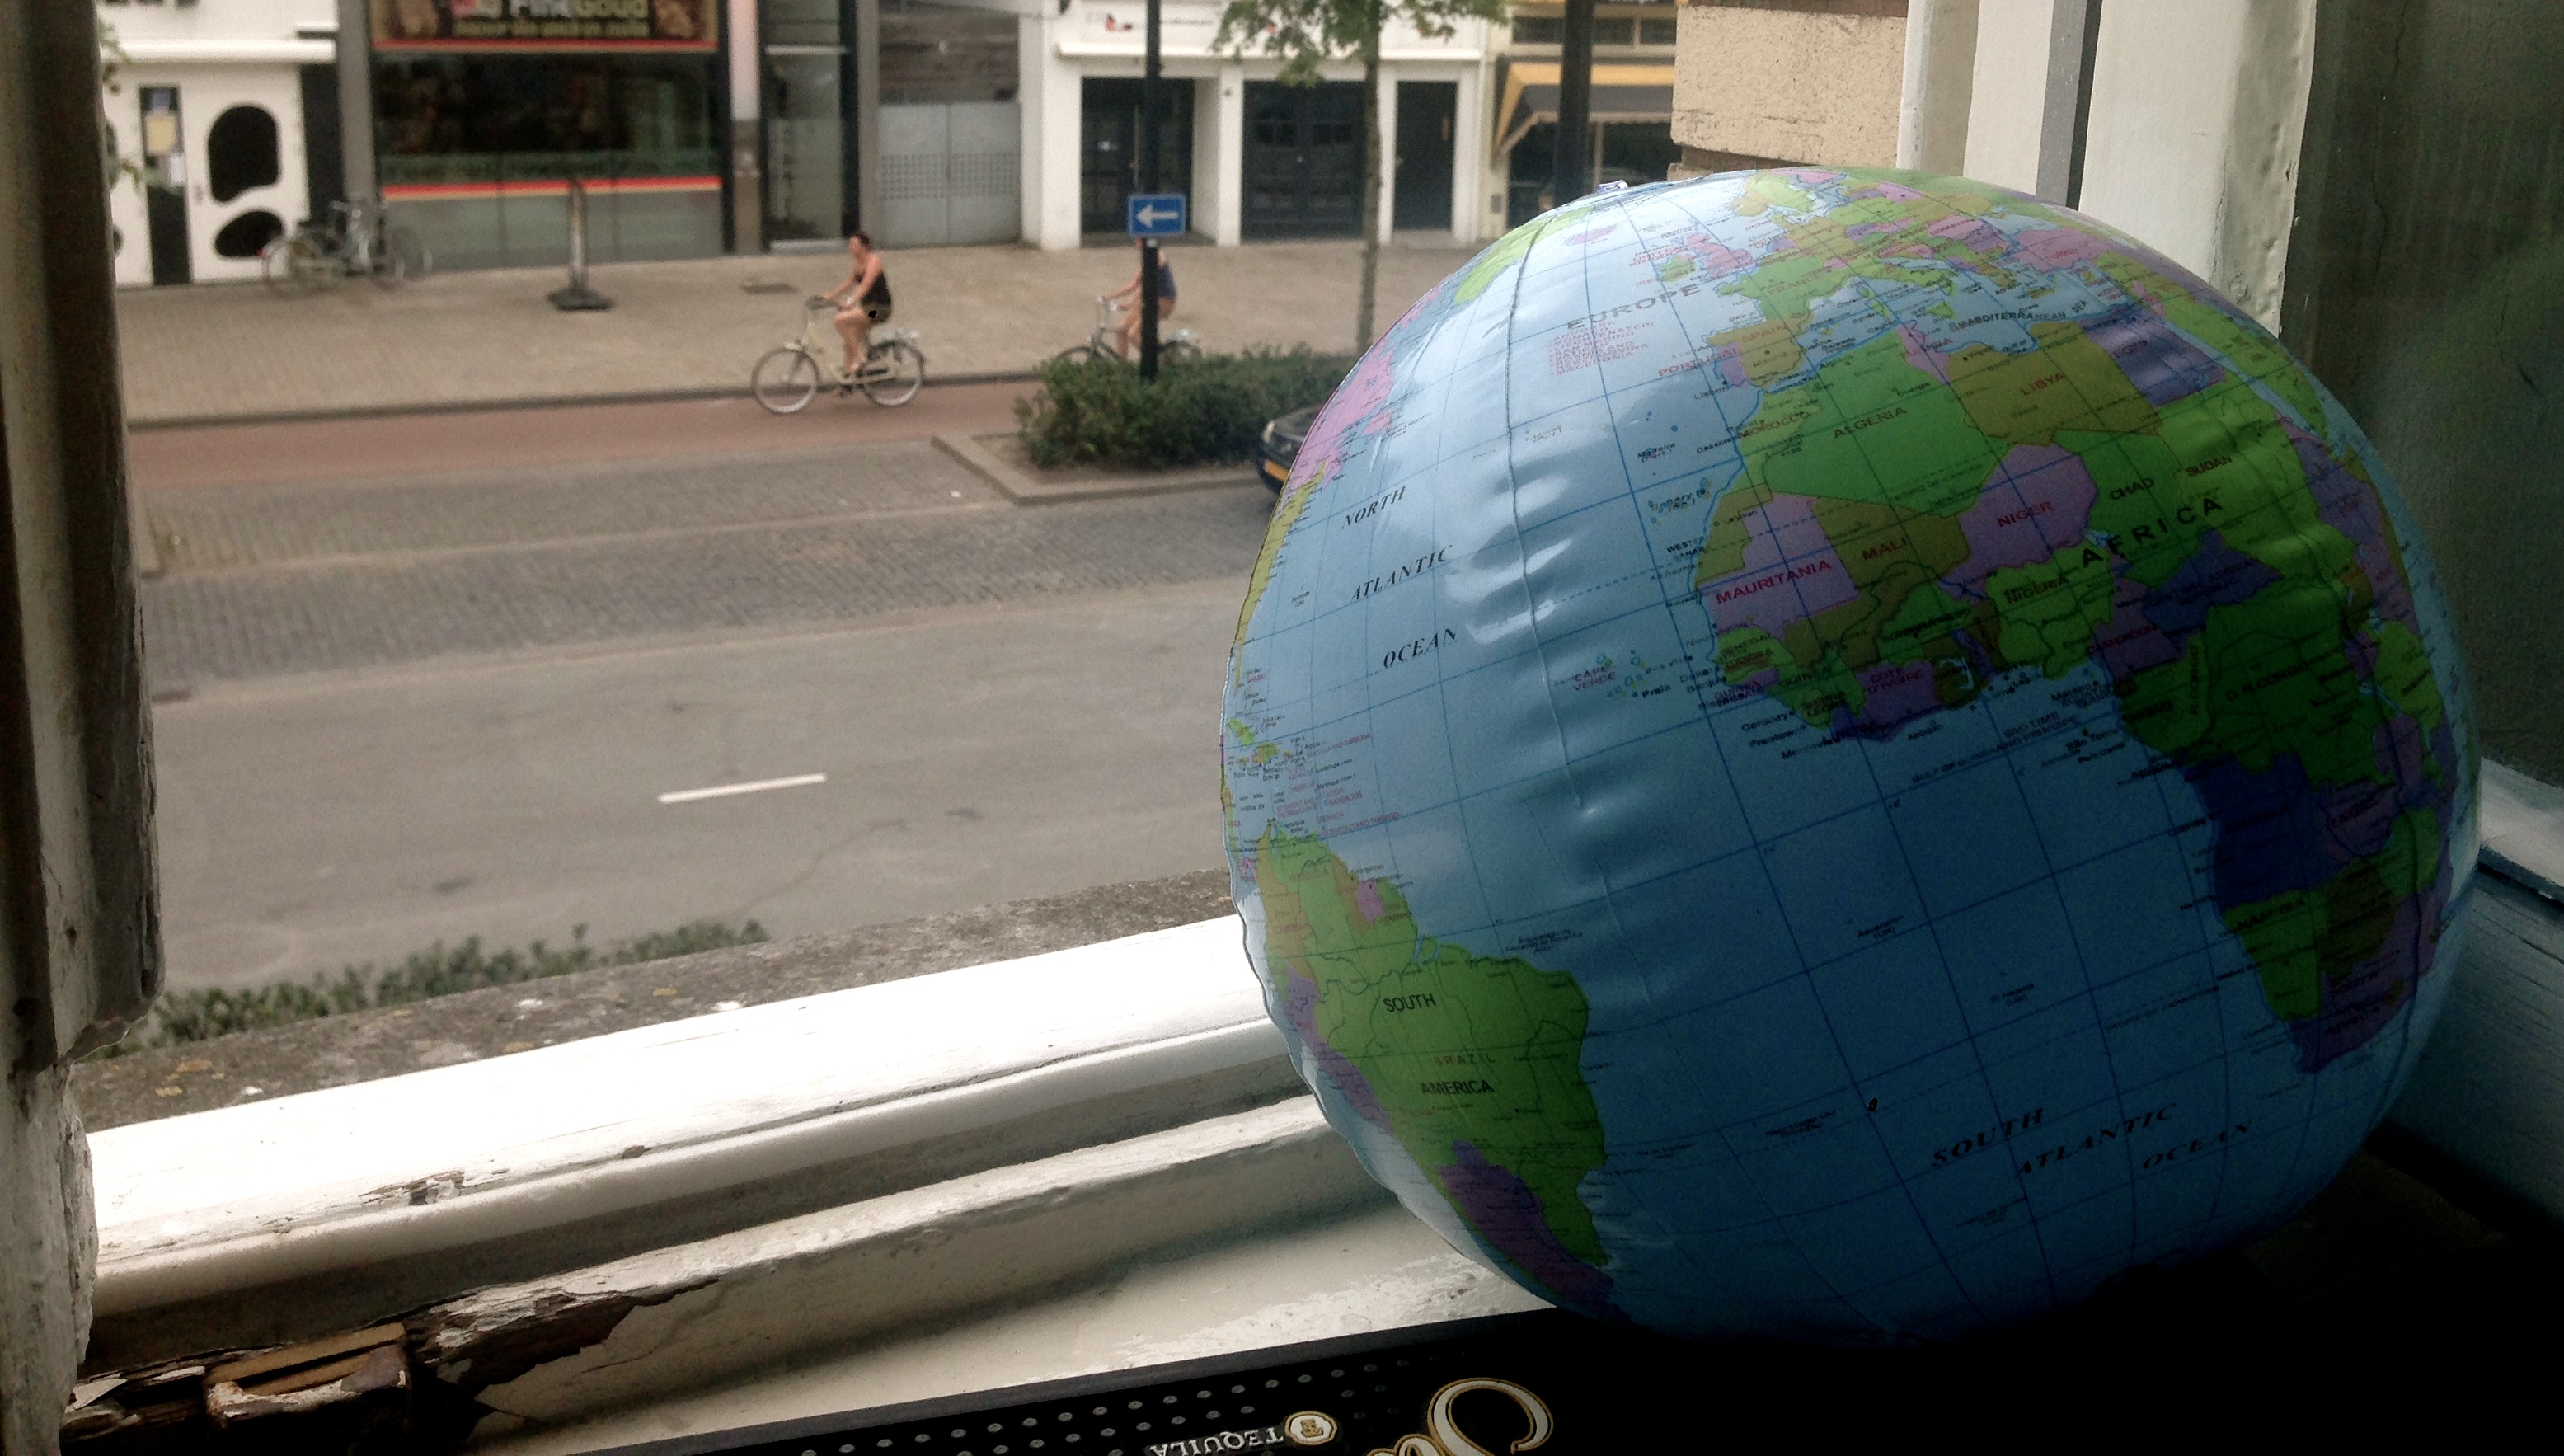
The results
Before:
After:
Following all the above steps takes me roughly 20 seconds per a picture. I spend around 20 minutes going through a weekend trip to make the pictures look better, best of all, once its done, its done for ever! Little time of investment will make your trip pictures look a lot better and you have them for a lifetime.
Next step: backing up your photos and sharing them with the world.
I’ve created a system for editing, I also have a system for sharing and backing up. The more places you share and backup your photos the more chances you have of securing them in case they get lost. Failed hard drives happen, having multiple storage areas is a great way of protecting your photos.
First off, personal back up:
I back up twice, once on my personal computer and another time on an external portable hard drive.
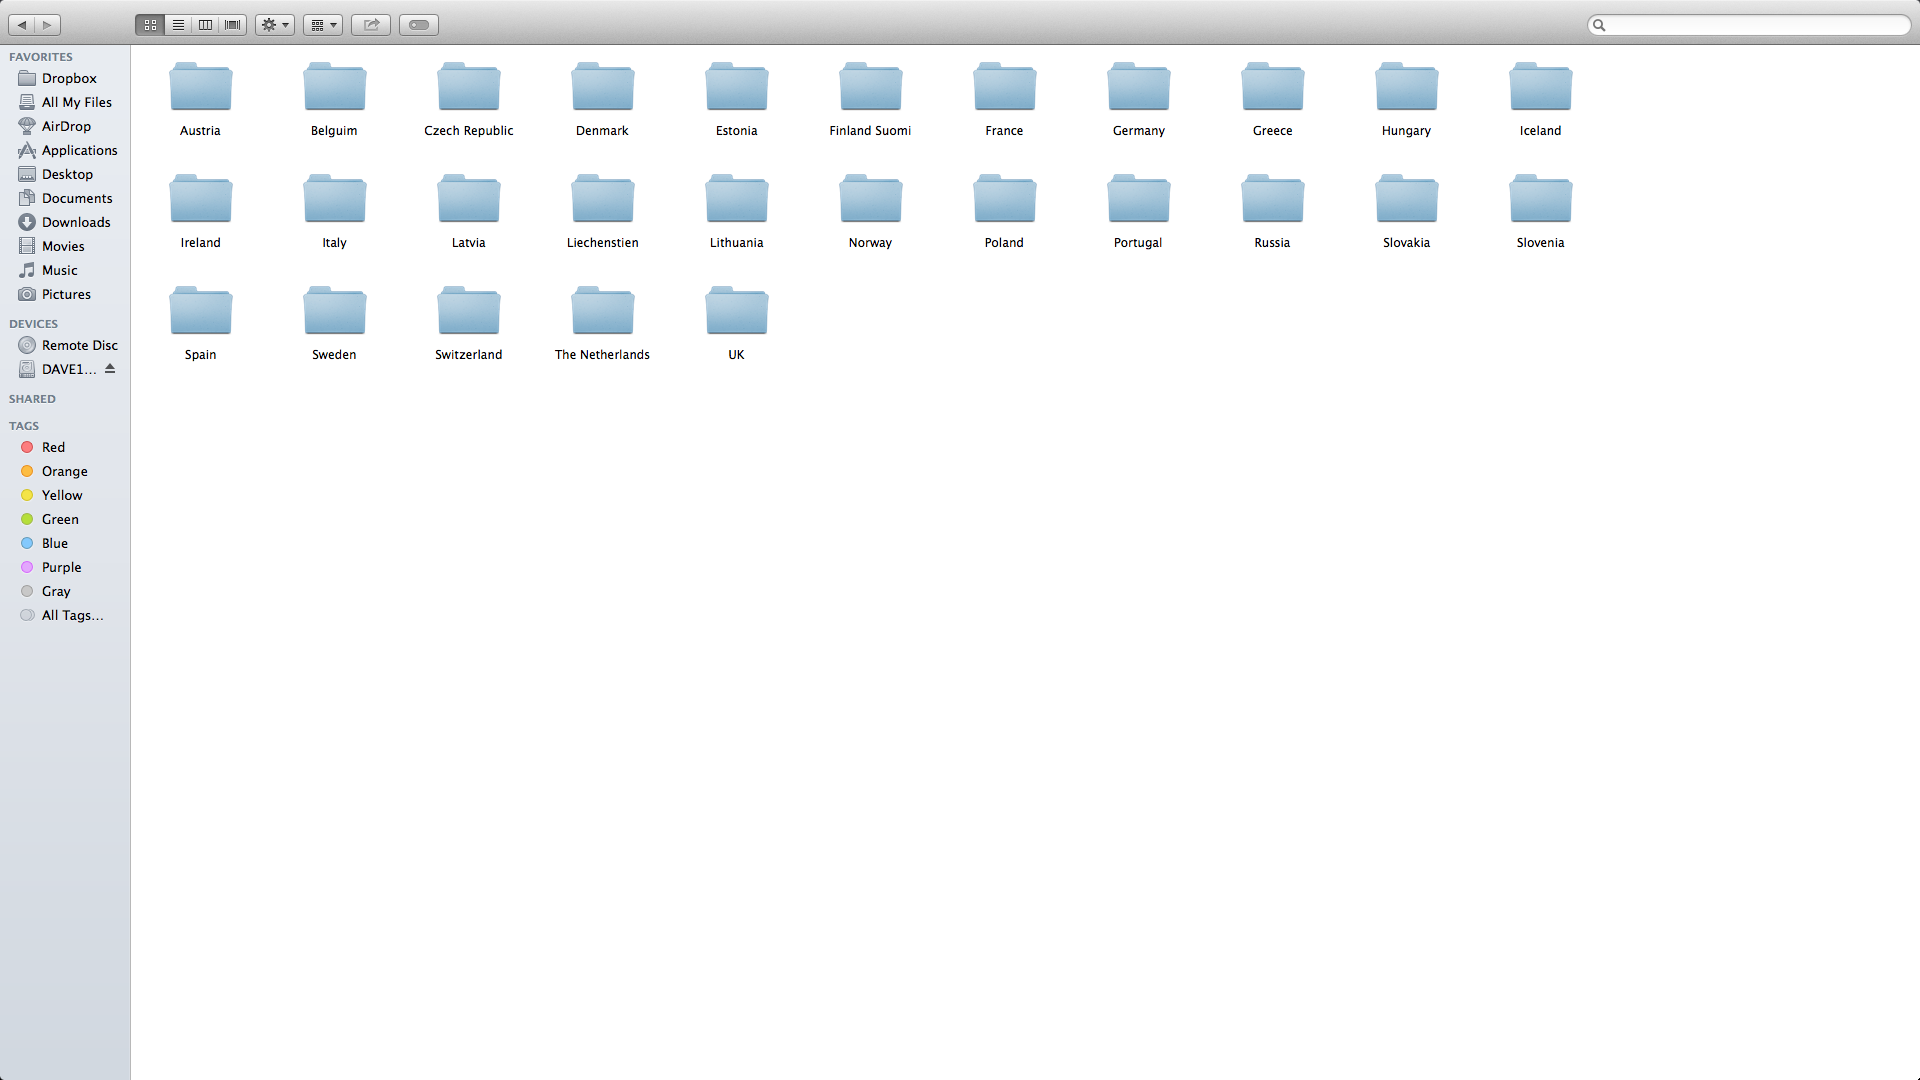
I have a folder called Travel photos which is split up into continents, then countries. Within the country folders I date each city or place, then If I visit the same place again I can find the correct set of photos for each trip. I schedule 4 times a year to go over past trips and double check each place has been backed up correctly in the correct place.
Yes, I know! Crazy! But travel pictures to me are everything, having a secure system in place enables you to never lose one at all, ever.
Online backup:
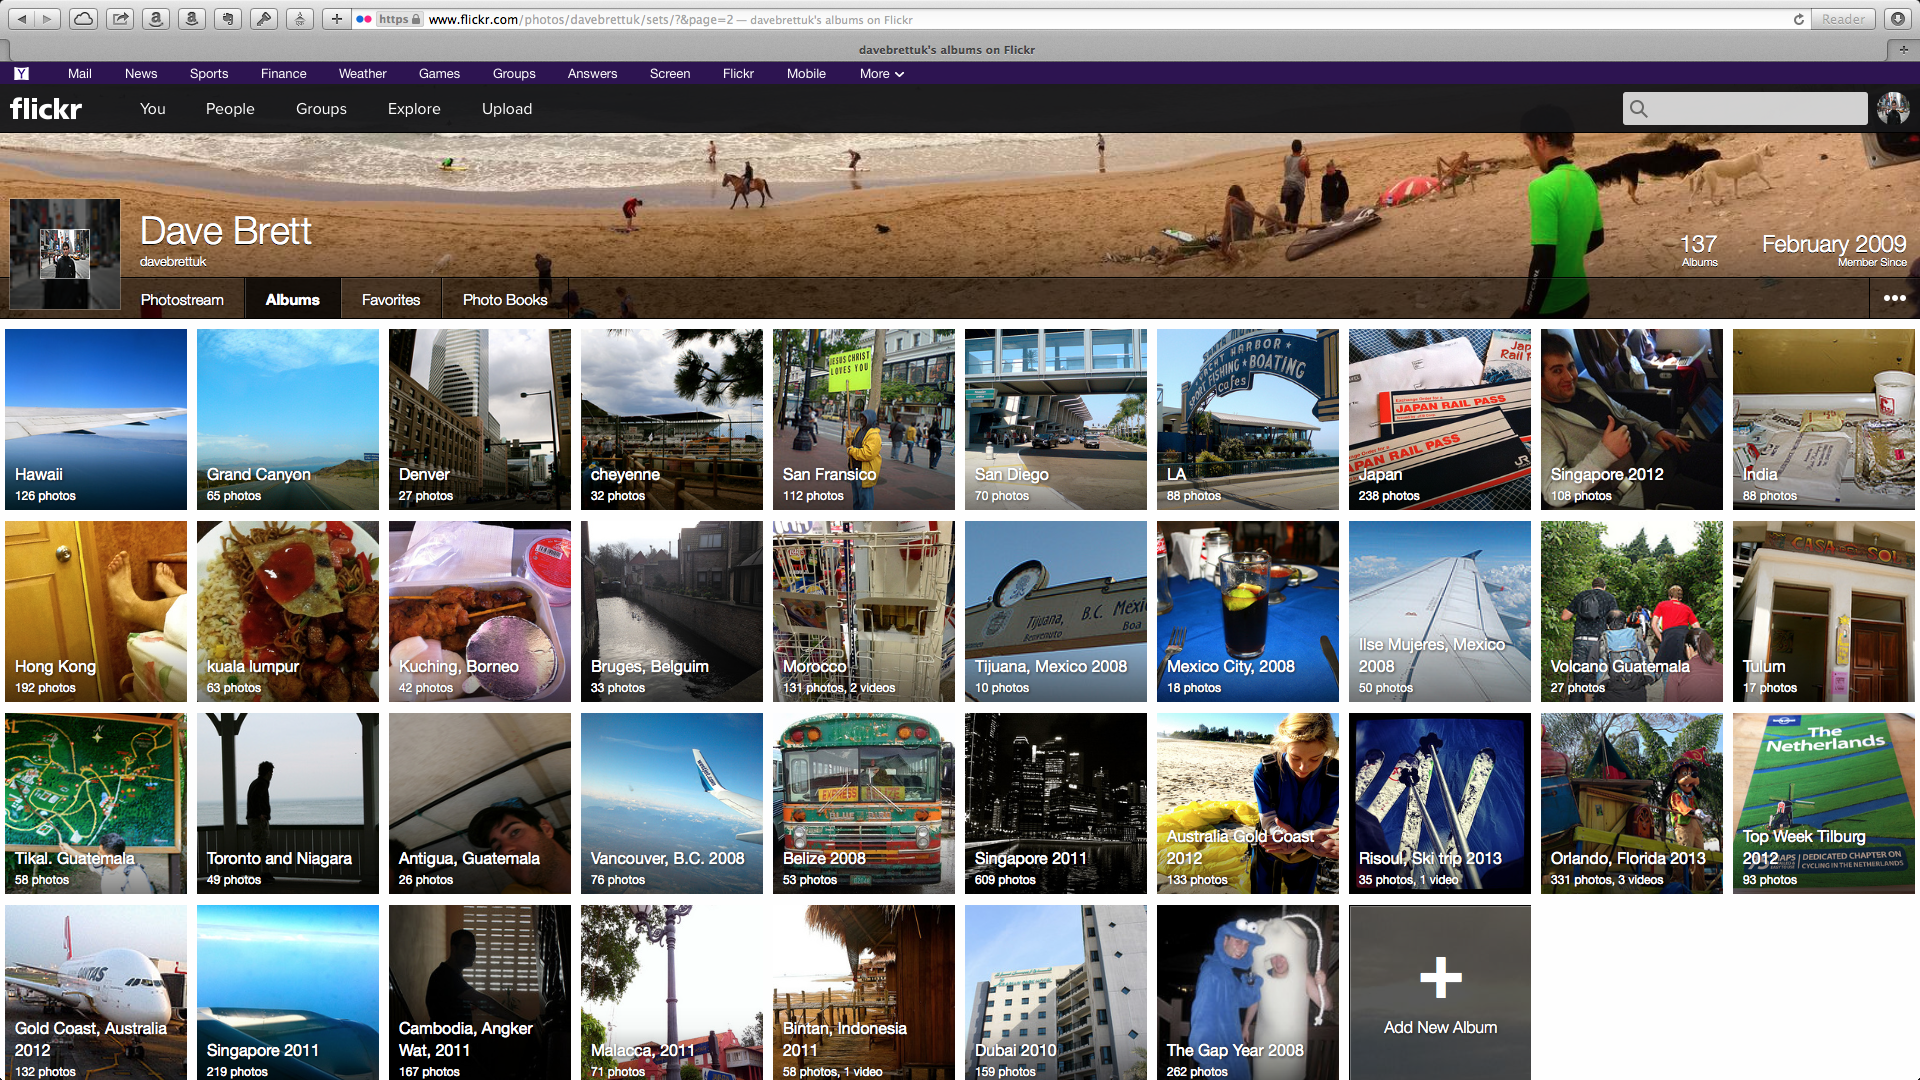
Just as an extra backup I upload all my photos to Flickr, this helps me when I’m on the road and need to access photos for blog posts or share them with friends. Flickr now comes with 1TB of storage for free, which is all I would ever need. It presents the photos in an easy to find way through Albums. I like Flickr because its easy to use with an internet connection and I can access all my photos which is great when you are limited to a Mac Air and not a lot of hard drive space.
You can check out my Flickr page here: Travel Dave’s Flickr page
Sharing your photos
I always upload all my photos to Facebook, this is the last step, once they are edited and ready to go I can share them with my friends and on my Travel Dave Facebook page.
Whilst on the road?
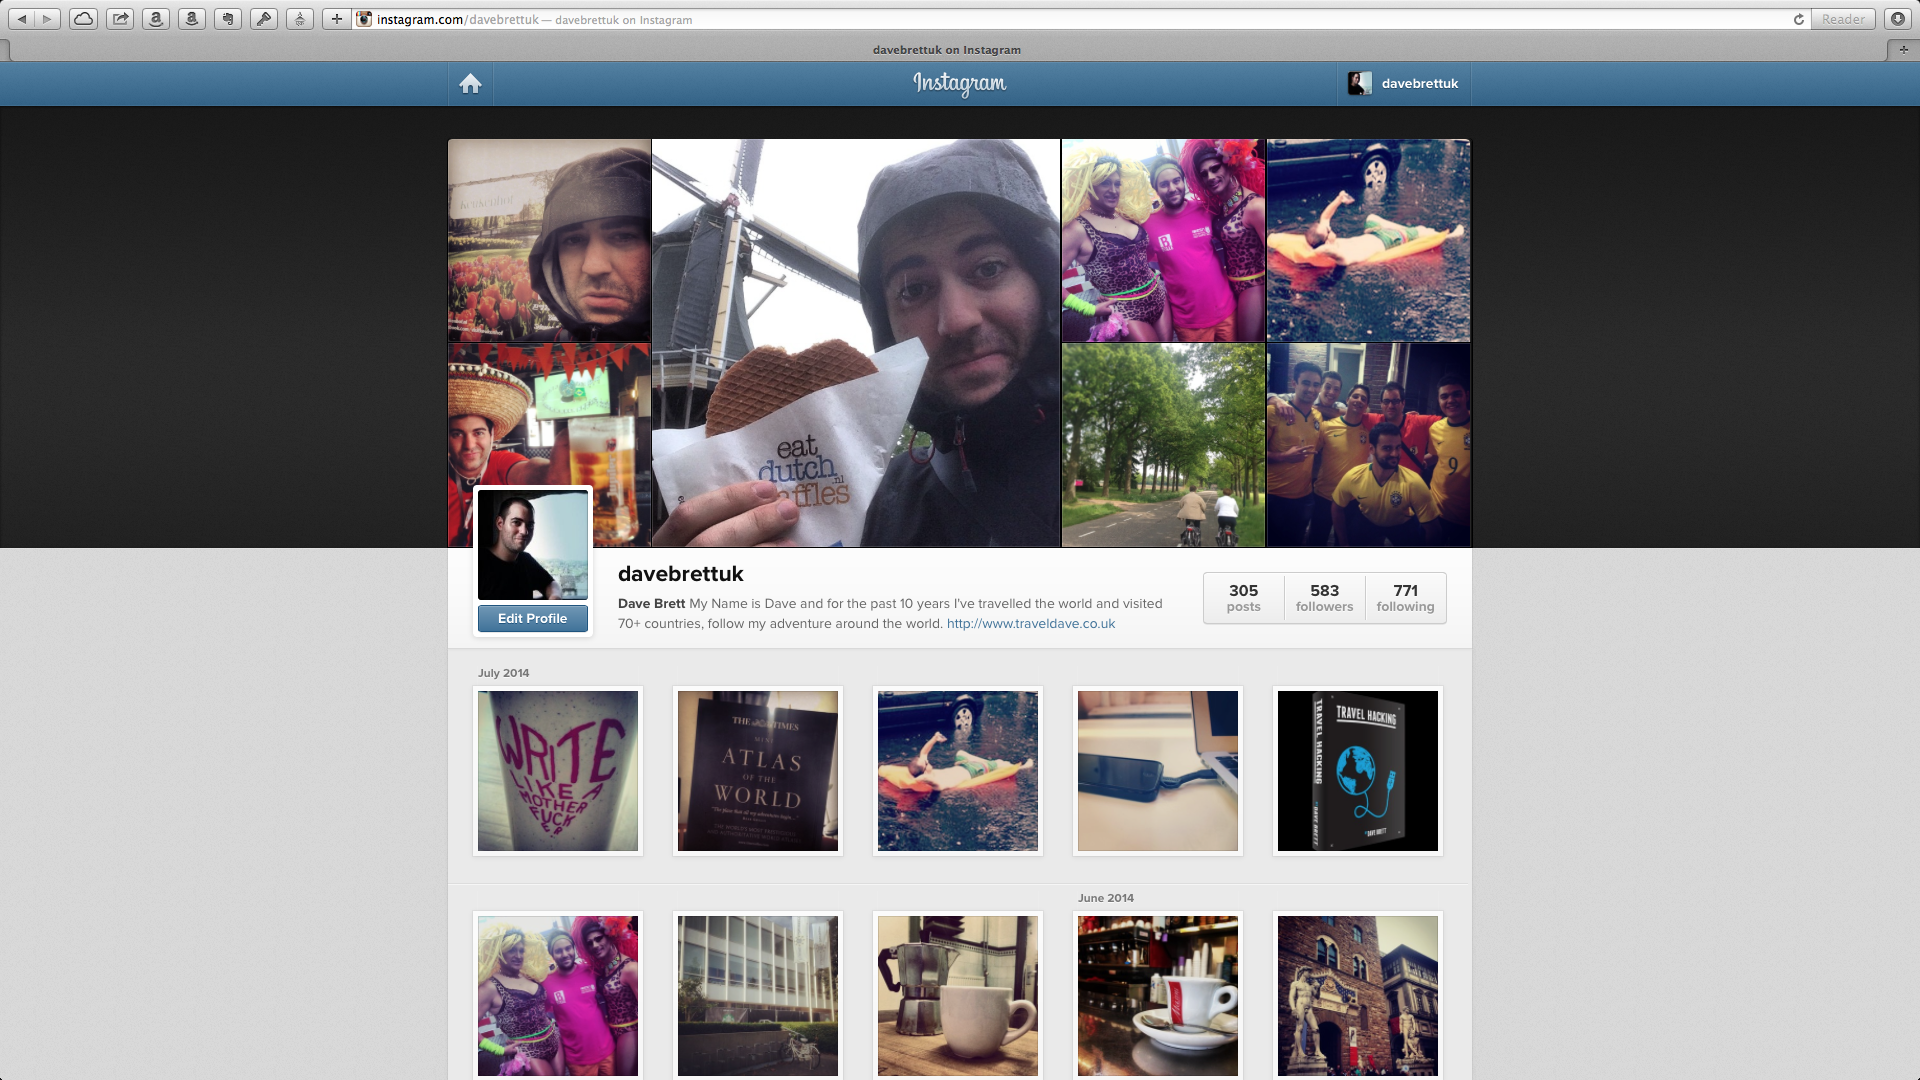
Sometimes I take a photo and want to share it straight away, Isntagram is perfect for this as you can edit the photo on the spot with many nice effects and it shares over all my Social Media platforms with one click which is handy on the road.
You can follow my Instagram page: Travel Dave’s Instagram page
Two Bonus tips:
Iphone already has a lot of editing features built in
When you’re on a long bus ride you can already get to work by deleting photos and doing some small editing adjustments such as: Cropping, rotating, filters and evening enhancing. If you’re travelling with an iPad you can even buy a USB converter to transfer your photos to edit on the iPad which can then transfer to your iPhoto when you get back. If your board and have some spare time this is a great tip.
Pro HRD app
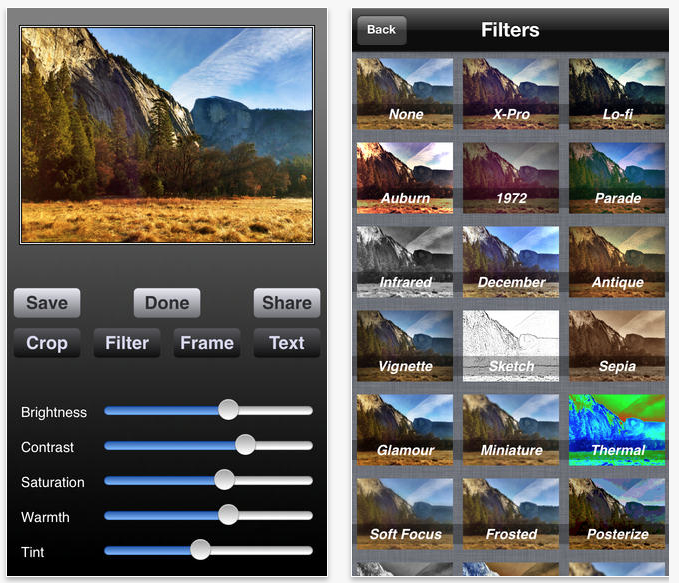
Found the ultimate sunset or view and can’t quite seem to capture it how you see it? Pro HDR is the perfect app to play around with, it uses the HDR feature built into the iPhone and the outcome picture can look outstanding:
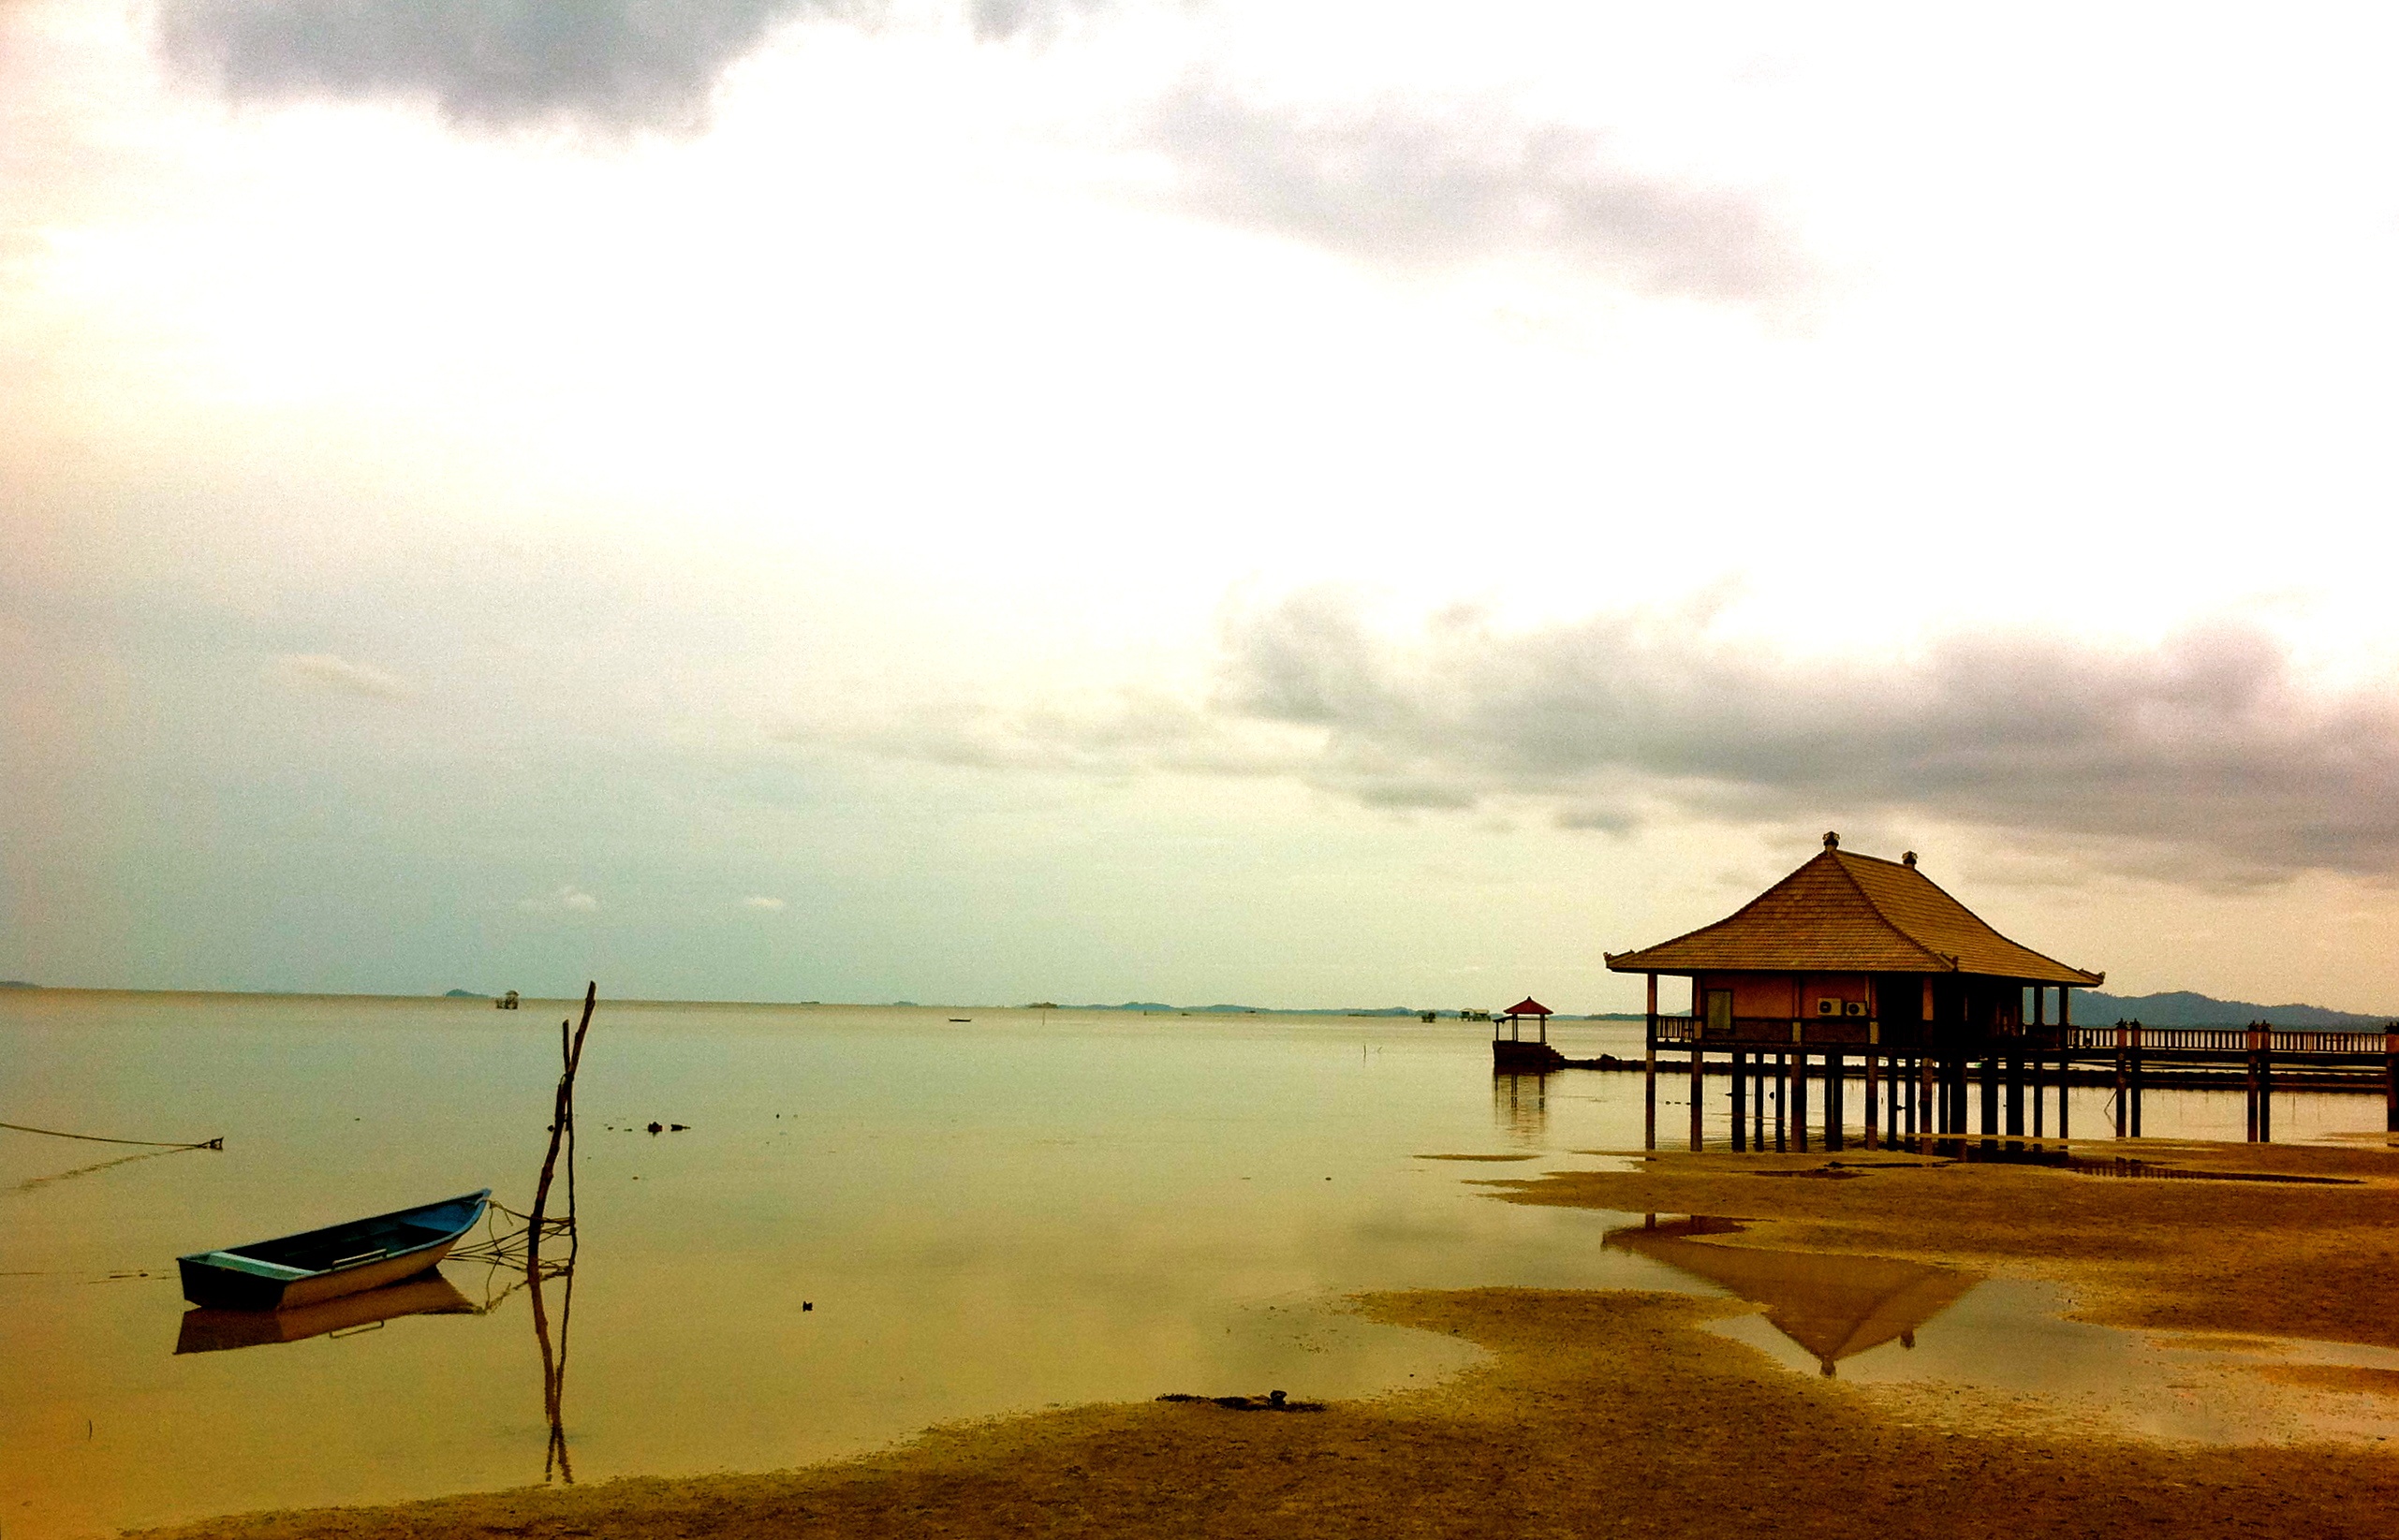
(Picture I took of a sunset from Bintan Indonesia)
There you go! Now you know all the steps I take to make an average travel photo look just that little bit more special, I’m not a professional and I don’t have a lot of expensive equipment, but a few handy steps you can not only protect them from getting lost but make them look a lot better too!
Thank you for reading my latest blog post, I hope you found it useful, any more tips you would like to share, feel free to post below in the comment section:


 Travelling the world, one adventure at a time. Follow Dave Brett, a solo adventure travel blogger on his travels around the world. A globe-trotting adventure travel blog featuring travel tips and advice, travel stories, travel videos and travel photography that will inspire your next trip abroad, and help you plan it too. To read more, please visit: